
Imagine having a basic digital design and transforming it into something tangible—some beautiful decal for your wall or personal shirt that reflects you. The process of vinyl cutting makes creativity a reality, connecting it to skilled craftsmanship so both crafters and businesspeople can create their designs.
In this blog post, we are going to discuss the process of vinyl cutting in more detail beyond technical knowledge. Whether you are a crafter interested in honing your crafting skills or a business person interested in producing personalized products, understanding the process of vinyl cutting can elevate your projects to a higher level.
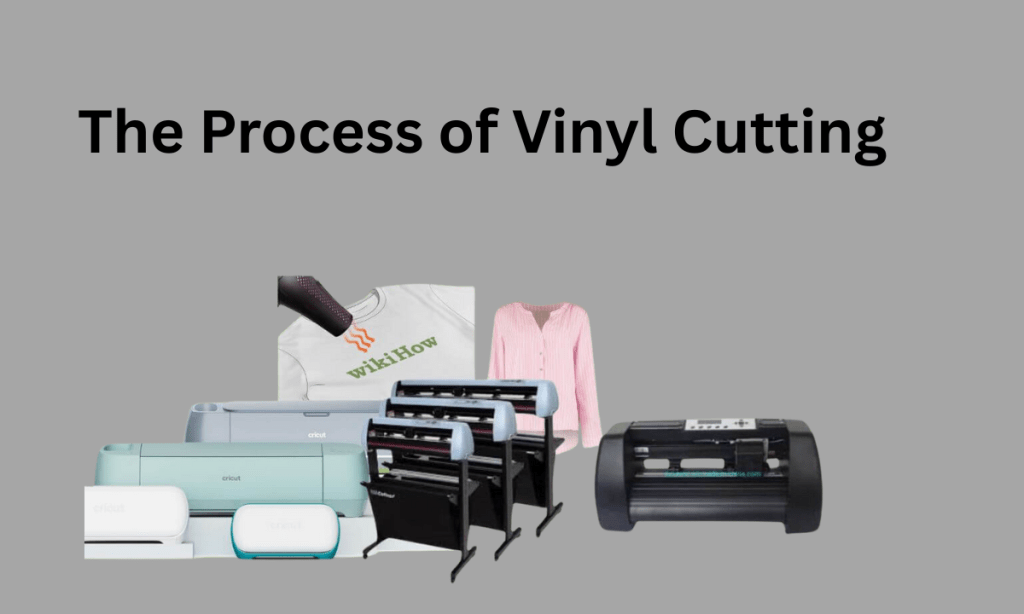
Understanding the Vinyl Cutting Process
Vinyl cutting, in short, is a method of employing a customized cutting machine to cut out letters and shapes from rolls of vinyl. But digital creation of a completed product is more complicated than it appears. Let’s sketch the process involved in this intriguing alchemy.
Step 1: Design Creation Vinyl Cutting
The initial step toward the process of cutting vinyl is creating the artwork. This is where your creative abilities take center stage. Depending on your capability and complexity of your artwork, you have several options:
- Software Choices: Working with programs like Adobe Illustrator, Corel DRAW, or even free ones like Inkscape can allow you to create intricate designs to your own specifications. When you use vinyl cutting machines like Cricut or Silhouette, their respective software, like Cricut Design Space or Silhouette Studio, has templates and design features specifically tied to your machine.
- Consider the Medium: In creating your design, it is also important to consider the final output. A design to be used on a T-shirt with Heat Transfer Vinyl (HTV), for example, must be reversed before it’s cut out. It is essential to know these idiosyncrasies in order not to waste time and materials.
Step 2: Selecting the Proper Vinyl
With your design established, the second key step is selecting the proper type of vinyl. Not all vinyl is created equal, and different projects require different types. Here’s a brief rundown:
- Adhesive Vinyl: Ideal for use in applications such as decals or stickers that will be sticking to surfaces without needing heat. Some common ones include Oracal 651 for exterior use and Oracal 631 for interior use.
- Heat Transfer Vinyl (HTV): The best for applying to fabrics. HTV will melt and stick to substrates when heated, which is great for T-shirts, tote bags, and the like. Brands like Siser and Caesar have reliable HTV products.
- Specialty Vinyl: It can be glitter, holographic vinyl, or even holographic foil, and it can be used to add special visual effects to your project.
Step 3: Preparing for Cutting
Two prep steps before you can really cut your design:
- Load Your Material: Depending on your equipment, you might need to place the vinyl on a cutting mat or place it directly into a roll feeder.
- Machine Settings: Cut the blade depth, pressure, and speed settings for whatever type of vinyl you’re using. An average setting for adhesive vinyl would be a blade depth of 2-3, while HTV would have a greater depth.
- Test Cuts: Performing a test cut on a small piece of your vinyl can help ensure everything is set correctly before diving into the design, helping to avoid costly mistakes.
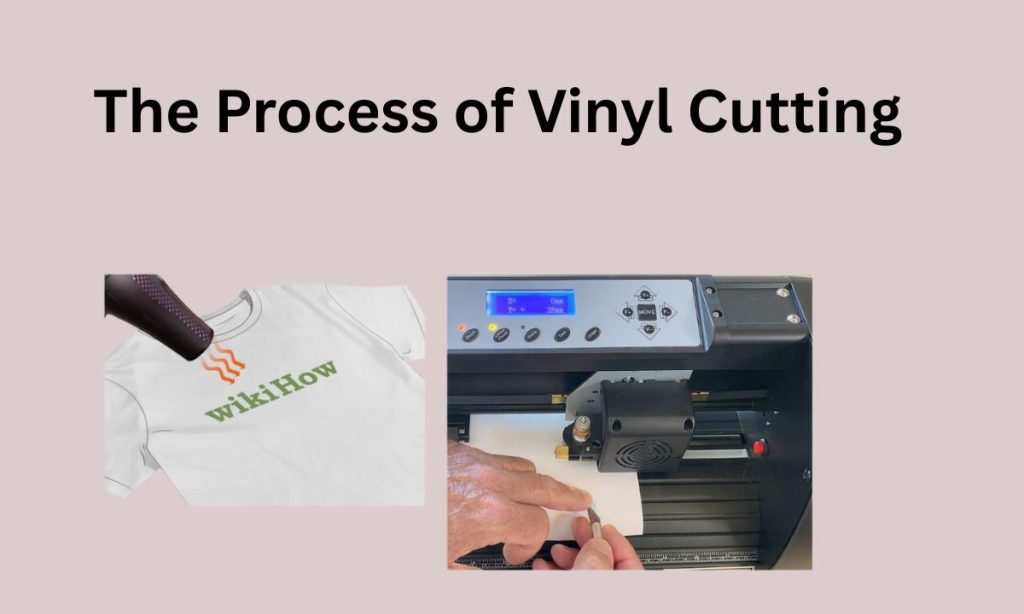
Step 4: The Cutting Process
Now to the heart of the vinyl cutting process—the actual cutting. Once everything is set up, your machine will take over.
- Precision Cutting: The device employs a small blade to etch your design on the vinyl and cut it with great precision. The pressure and speed applied will play a large role in determining the final product, hence the importance of the preparation steps beforehand.
- Monitoring: Monitor the cutting process to detect something that doesn’t quite appear right. Such things as out-of-place sounds or cuts might indicate a necessary change of a blade or tightening of an adjustment.
Step 5: Weeding the Design
What’s left over from cutting is your design from the vinyl sheet and excess material to be cut away—this is weeding.
- Weeding Tools: Weeding tool or hook allows you to easily pluck away unwanted vinyl with ease. Others use light boxes or bright lamps to backlight their work so they can see which areas to pluck away.
- Patience is Essential: You should be patient while weeding so that you do not cut parts of your design by accident. A steady hand and good eye for detail are essential during this process.
Step 6: Transfer Tape Application
To transfer your design smoothly onto your intended surface, you’ll need transfer tape. Here’s how to apply it:
- Cut the Tape to Size: Make sure the transfer tape is slightly larger than your design.
- Positioning: Place the tape carefully over your design in order to avoid air bubbles. Starting from one edge, apply pressure downwards with a scraper tool, aligning the tape and the vinyl both in the same direction, heading towards the other end.
- Peeling: Peel slowly and carefully remove the backing from the vinyl design while having the transfer tape flat on top of the vinyl so that the vinyl sticks to the tape, making it easy to apply.
Step 7: Application onto the Final Surface
Your design is now securely on the transfer tape. It is time to apply it onto the final surface.
- Preparation: Make sure that the application surface is clean and dry. Dust or moisture may prevent the sticking of the vinyl.
- Placement: Put your design on the surface, and then use a ruler or level to ensure it is aligned correctly. Press firmly initially; you can always reposition it before sticking it down for good.
- Final Application: Again, apply the scraper tool to push the vinyl firmly onto the surface with no bubbles or wrinkles. Once you’re certain that the vinyl is secured, peel off the transfer tape slowly. If areas come up with the tape, press them back down and retry.
Step 8: Finishing Touches
After your vinyl has been applied, there are a few additional steps to achieve a longer life, especially for garment-related projects.
- Heat Setting: If you are using HTV, it is worthwhile to heat-set the design with a heat press or iron. This involves an additional step to achieve a long-lasting hold with the material, making it more resistant to washing.
- Care Instructions: Including care instructions can add to the longevity of your vinyl projects. For instance, products created with HTV should typically be washed inside out and air-dried to preserve their integrity.
Key Insights for Success
Although the process of cutting vinyl may at first glance appear intimidating, a number of key insights can make your path from design to reality easier:
- Work Smart with Templates: Saved templates can help save time and aid in refining your design techniques. There are hundreds of user-designed templates included in most design software packages and machine-specific libraries.
- Experiment with Materials: Feel free to try out different kinds of vinyl. The more experience you gain, the more you will discover which brands and types perform best on a variety of projects.
- Ongoing Learning: The crafting universe is constantly changing, and new products and methods are developed regularly. Keep yourself abreast of blogs, tutorials, and forums where crafters post tips and hints.
- Get Involved in Communities: Connecting with other crafters via social media sites or neighborhood crafting clubs can be a source of inspiration, troubleshooting advice, and friendship.
Conclusion
Vinyl cutting is an active synthesis of technical know-how and art, converting computer designs into material results. If you learn each process—from designing to application—you can utilize the art to craft gorgeous and professional-grade projects.
With practice and perseverance, you not only acquire the skills but you may also find yourself capable of launching a side venture, making do-it-yourself projects, or producing customized presents for special individuals.
Remember that the key to mastering vinyl cutting is by trial and error and learning from each project. So gather your materials, switch on that vinyl cutter, and let your imagination run wild!
Leave a Reply
You must be logged in to post a comment.