
If you’ve ever gawked over the beautifully made vinyl wall sticker or the personalized sign that looks like it just came off the presses of a high-end store, you’re familiar with the magic of precise design. Creating such streamlined results is not the preserve of big-budget companies; thanks to the advances in free software, even small business owners and hobbyists can achieve lovely vinyl projects with professional finesse.
Imagine producing a decal on a shoestring, with every line easily editable, and then effortlessly transferring that design to your vinyl cutter — all free. That’s the reality that enthusiasts of the DIY vinyl art phenomenon inhabit. But how does free software alter the entire process from conception to final product? And what are the essentials needed to advance your craft to the next level?
In this post, we’ll explore how free software and strategic techniques can drastically improve your vinyl projects, making them sharper, more detailed, and far easier to execute than ever before. Let’s unlock the potential of your creativity, one cut at a time.
The Power of Free Software in the Vinyl World
Overcoming Cost Barriers Without Compromising Quality
Many independent artists shy away from using high-grade design software because of its astronomical prices. Subscription models or even costly licensing are the case with titles like Adobe Illustrator or CorelDRAW.
Free alternatives like Inkscape, Vectr, and LibreCAD are available that now have enough advanced software for all but the most unusual vinyl production.
A new poll conducted by the Craft and Design Institute reveals that 65% of small creators use free, open-source tools for their craft. Why’s that? Accessibility: no initial outlay, no multi-year contracts, sheer potential.
Community and Ongoing Development
Vigilant communities maintain open-source efforts. For instance, Inkscape users regularly create plugins and tutorials, guaranteeing steady enhancements.
This ever-evolving process is such that your tools not only remain up-to-date but are even given a head start by leaps made by other craftsmen—an edge that proprietary tools struggle to equal.
Compatibility and Workflow Synergy
All free design tools are generally highly compatible and are typically as easy to run together as they are to use. You can begin a rapid sketch in Vectr, fine-tune it in Inkscape, draft technical cuts in LibreCAD, and enhance with 3D in Blender—all completely free and highly compatible.
When supplemented by how to 3d print in Blender, the ability to combine 2D and 3D work generates new artistic frontiers.
Critical Features for Choosing Your Vinyl Design Software
User Interface and Ease of Use
A good interface with simple workflows can make your learning curve better. Nonetheless, advanced control features are indispensable for sophisticated projects, so select software that will learn from your skills.
Vector Editing Capabilities
Since vinyl cutting relies on vector paths, choose software that excels at creating and editing vectors. Node editing, path operations, and multi-layer support are must-haves.
File Compatibility and Export Options
Ensure your software exports in SVG or DXF, which are widely supported by most vinyl cutters. Also, seamless import of images like PNG or PDF opens up your possibilities.
Cutting Path Preview and Optimization
Some software offers real-time preview and cut-path optimization so you can see exactly what will be cut and minimize material waste or accidents.
Community Support & Resources
Tutorials, forums, and user guides save time and frustration, especially when troubleshooting or experimenting with advanced techniques.
Top Free Software Revolutionizing Vinyl Projects
| Software | Skill Level | Main Features | Best For | Supported Platforms | Price | Official Site |
| Inkscape | Beginner to Expert | Vector drawing, multi-layer, ample plugins | Intricate designs, layered decals | Windows/Mac/Linux | Free | Inkscape.org |
| Vectr | Beginner | Cloud-based, collaborative, lean UI | Fast sketches, team projects | Browser/Desktop | Free | Vectr.com |
| LibreCAD | Intermediate | CAD-level, precise 2D technical drawings | Technical logos, scaled drawings | Windows/Mac/Linux | Free | LibreCAD.org |
| OpenSCAD | Advanced | Script-driven parametric models | Custom fixtures, precise 3D models | Windows/Mac/Linux | Free | OpenSCAD.org |
| Blender | Expert | 3D modeling, texturing, rendering | 3D-augmented vinyl components | Windows/Mac/Linux | Free | Blender.org |
Deep Dive: Elevating Your Projects with the Must-Have Software
Inkscape: The Designer’s Swiss Army Knife
Why it’s so important:
Inkscape boasts an unmatched set of vector editing tools comparable to those found in commercial software. Its ability to handle complex designs makes it a gem regardless of what you’re designing, from tiny, intricate decals to large, stacked wall art.
How it transforms your workflow:
- Precise node control: Defining curves and edges ensures clean cuts and professional finishes.
- Layer management: Organize complex projects with many layers to simplify editing and changes.
- Add-ons and plugins: Add features like mirroring or intricate fill patterns to unlock creative possibilities.
Practical tip:
Always apply Inkscape’s ‘Path’ > ‘Simplify’ to round off rough edges before cutting your design, to minimize material loss and get clean edges.
When designing intricate features, preview or animate your design in layers for more control.
Real-world example:
A vinyl artist designed a cityscape with precision using Inkscape’s node editing. By having layers—foreground, buildings, and sky—merged, they achieved a multi-layer decal with a narrative. After export as SVG, the design was easily imported into a cutter, and dramatic results were achieved.
Vectr: Quick, Interactive, and Free
Best suited for:
Breaking fresh artists or co-creating around quick ideas. Its cloud-based nature makes effortless access for multiple users to view, comment, and edit simultaneously.
Why it’s valuable:
- No setup hurdle: Accessible directly from browsers.
- Collaboration in real-time: Ideal for team project collaboration or far-flung partnerships.
- Easy interface: Reduces principal vector tools to keep beginners from being overwhelmed.
Workflow advantage:
Brainstorm logo ideas or draw rough concepts in Vectr, then import the clean vectors to Inkscape for detailed editing or layering. This simplifies creativity and concentrates focus.
LibreCAD: Target, Technical Accuracy
When to use LibreCAD:
For projects that need accurate measurement, like stencils or scale models. Its CAD-like environment lets you define measurements explicitly and ensure accuracy with each cut.
Strength in vinyl projects:
- Dimension control: Input accurate dimensions for optimal scaling.
- Layered drawing support: Manage detailed technical sketches.
- Export options: Export work in DXF or SVG format to be cutter-friendly.
Real-world application:
Need a scaled-down architectural sign? Open up LibreCAD to have it all laid out perfectly, and then export to Inkscape for the last touches or your cutter program.
OpenSCAD: Parametric 3D Model Master
Why it’s so powerful:
OpenSCAD is not a standard modeler; it’s a scripting environment. This means you design accurate, reproducible models in code—a miracle for mass production or complex custom parts.
Application in vinyl and beyond:
Create layered, high-detail 3D parts or high-detail accessories. Export designs as STL files, then apply the 3D printing techniques in Blender to refine or expand your vinyl work.
Tip:
Simplify duplicated design work through setting parameters within scripts to ensure dimensions can be changed on the fly throughout your entire project. For example, several iterations of a bespoke monogram can quickly be generated using code modifications.
Blender: The 3D Game Changer
It’s more than just modeling:
Blender is a powerful tool for producing 3D elements that provide your vinyl graphic with texture and depth. Mold intricate designs, model overlapping 3D forms, or build personalized ornaments.
Linking 3D and vinyl:
Design detailed shapes or backgrounds in Blender, and use STL files to print them 3D. Use how-to 3d print in Blender tutorials to detail your models first before moving them into your vinyl projects—designing flat decals with actual 3D pieces makes the design unique.
Pro tip:
Blend Blender’s renderings and textures with your vinyl artwork to create stunning mood boards and previews, impressing clients or informing your projects.
Streamlining Your Workflow: Blending the Tools
| Phase | Software of Choice | Function | Tips |
| Ideation | Vectr | Brainstorm sketching | Collaborate with team members; save for unique ideas. |
| Refinement | Inkscape | Fine vector editing | Smooth lines, layer organization, and cut file preparation. |
| Technical Design | LibreCAD | Accurate |
| 3D Modeling | Blender | 3D objects, background | Make and complete 3D assets for layered designs or accessories. |
| Prototype & Production | Slicer software (e.g., Cura) | 3D printing | Verify models to ensure they are print-ready with correct scaling. |
Bridging it all together:
By leveraging each of the software packages’ strengths in your workflow—sketching in Vectr, detailing in Inkscape, precision-crafting in LibreCAD, and 3D modeling in Blender—you create a seamless process from idea to completed product.
This integrated setup offers unprecedented freedom of creativity, efficiency, and professionalism for all vinyl projects.
From Design to Cut: Best Practices to Take Your Vinyl Creations to the Next Level
1. Begin with Clear Concepts and Sketches
Even hand-drawn sketches can be helpful for blueprints. Sketch out ideas on paper or free drawing apps, then digitize with your software of choice.
2. Keep Layer Organization a Top Priority
Breaking up your design into sections helps with editing and cleanup. Color-code or use naming schemes to navigate quickly.
3. Optimize Your Vectors for Cutting
Refine paths by closing gaps, smoothing curves, and removing duplicate anchor points. The more the vector is cleaned, the higher the quality of the cut.
4. Test on Scrap Material
Always test-cut or test-run on inexpensive vinyl. This minimizes waste and catches problems early.
5. Pay Attention to Material Settings
Vary cutting speed, pressure, and blade depth according to material specifications. A correct setup ensures clean lines without tearing or additional residue.
6. Employ the Right Transfer Methodologies
Transfer decals carefully with transfer tape or transfer paper. Proper handling yields clean edges and fewer repositioning errors.
Unleashing the Potential of 3D in Vinyl Projects
Combining 3D elements with vinyl graphics is transforming the landscape for art and branding.
Techniques like how to 3d print in Blender are crossroads between digital rendering and real-world workmanship, allowing intricate custom parts to add depth to flat decals.
For instance, designing layered wall art with sculpted backgrounds in Blender and then complementing those with vinyl overlays adds depth and tactility that involves viewers.
The processes include creating the 3D models, exporting them as STL files, and then printing or CNC-machining the pieces before combining them with vinyl decals or wall backgrounds.
This path opens up prospects of customized signage, elevated murals, or stand-alone art pieces—each delivering the precise detail of free software and the feel of genuine craftsmanship.
FAQs on Using Free Software for Vinyl Projects
How do I choose the best software for my vinyl project?
Your choice depends on the complexity of your project and your skill level. Novice users might enjoy effortless options like Vectr or Inkscape, while professional users with complex or detailed projects may prefer LibreCAD or Blender. Try a few programs to see which works best in your workflow.
Is free software as good as paid software?
Totally. Professional designers all over the world use lots of free applications like Inkscape and Blender. Their intrinsic features and internet communities allow you to make high-quality work for free.
How do I prepare my design files for cutting?
Ensure vectors are cleaned, closed, and optimized for cutting. Use features like node smoothing and path simplification. Preview your cut paths at all times and test cuts before finalizing your material.
How do I combine 3D elements with vinyl decals?
Design or modify 3D models using Blender or OpenSCAD, export as STL files, and 3D print or CNC mill. Use or bolt these pieces together with your vinyl decals to build stacked, dimensional art that draws the eye.
Are there any learning curves involved with using these free tools?
Although some programs have more pronounced curves (such as Blender and OpenSCAD), abundant tutorials and community resources make the learning process smoother.
Begin with simple projects, then incrementally venture into advanced features.
Take Your Craft to New Heights with Free Tools
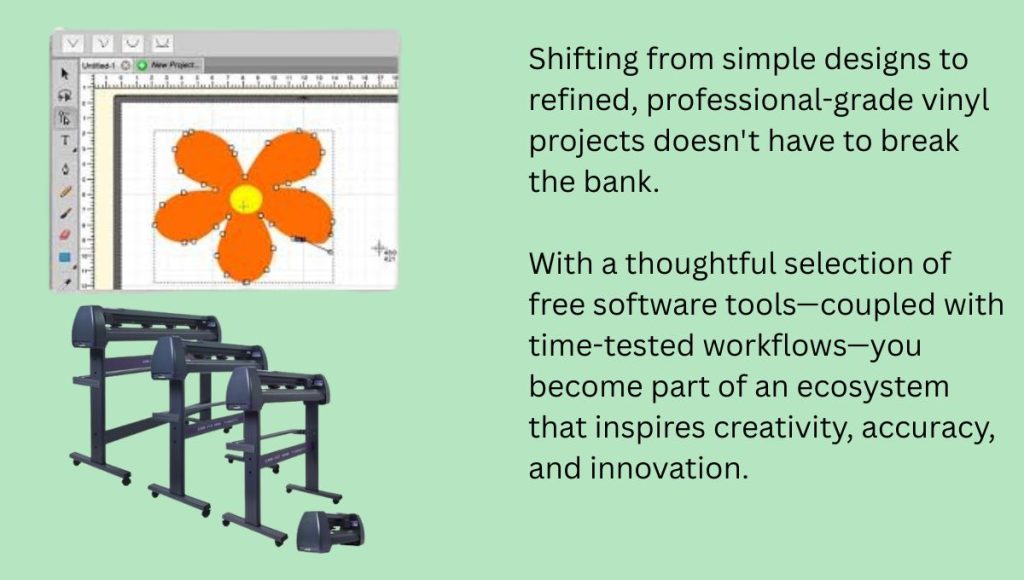
Shifting from simple designs to refined, professional-grade vinyl projects doesn’t have to break the bank. With a thoughtful selection of free software tools—coupled with time-tested workflows—you become part of an ecosystem that inspires creativity, accuracy, and innovation.
By combining design, technical skill, and 3D aspects, you can produce work that engages clients, adds punch, and stands out in a competitive marketplace.
And don’t forget, all projects begin with a basic idea. Let your imagination take over and use these powerful, easy-to-use tools to make it a reality.
Leave a Reply
You must be logged in to post a comment.