
If you’ve ever marveled at the intricate designs on a custom T-shirt or the stunning decals adorning storefront windows, chances are a skilled hand wielded a vinyl cutter behind the scenes.
Vinyl cutting is more than just a technique; it’s an art form that takes practice, creativity, and a clear understanding of materials and tools. For screen printing, this tutorial will uncover vinyl cutting techniques that can turn you into a master of the art and help you create amazing designs that will leave your customers and friends astonished.
As someone who used to sit with a messy desk, scratching my head and attempting to figure out how to get the most out of my vinyl cutter, I’ve witnessed the worst and the best of this business.
In today’s blog post, we’re going to cover some of the various methods that go into vinyl cutting that will have you go from amateur to expert, getting your designs to cut through the competition in today’s market.
Learning the Basics of Vinyl Cutting
What is Vinyl Cutting?
Vinyl cutting is the machine cutting of shapes, letters, and designs from vinyl sheets. The cut-outs can be used on decals, signs, custom apparel, and a multitude of other craft applications. It is also used in the Sublimation Printers factory. Vinyl’s versatility is what makes it such a popular material for hobbyists and businesses.
Types of Vinyl
Before you dive in deeper, you should know the types of vinyl you’ll be dealing with:
- Adhesive Vinyl: Perfect for creating stickers and decals that stick to surfaces without the need for heat.
- Heat Transfer Vinyl (HTV): A type of vinyl that’s especially designed to stick on fabric when you apply heat to it, and it’s perfect for T-shirts and bags.
- Oracal 651: A weather-resistant and waterproof adhesive vinyl ideal for outdoor applications.
- Oracal 631: An indoor removable use vinyl that removes more easily without damaging surfaces.
The Equipment You Need
To finally have the ability to get good at cutting vinyl, you need to have the right equipment. Below is what you will need:
- Vinyl Cutting Machine: Cricut, Silhouette, and Brother are a few great brands that provide fantastic machines to hobbyists and professionals.
- Weeding Tools: These will be utilized for weeding out excess vinyl after the cutting is done.
- Transfer Tape: Transfer your cut designs to the application surface easily with this.
- Cutting Mats: Cut on self-healing mats to save your workspace and also to extend the lifespan of your blades.
Basic Vinyl Cutting Techniques
1. Knowing Blade Settings
The key to smooth cuts is to know your blade settings on your machine. Speed, pressure, and blade depth can be adjusted for material type:
- Blade Depth: On vinyl adhesive, you would use a 2 or 3 depth. On HTV, you might go down a step.
- Pressure Settings: On thicker material, you will need more pressure, and on thinner sheets, you will need less pressure.
- Speed: A slower speed is suitable for more detailed work, and a higher speed is suitable for less detailed cuts.
2. Preparing Your Design
Prepare your design before you cut it. Some of the most crucial steps are:
- Use Design Software: Familiarize yourself with software like Cricut Design Space or Silhouette Studio, which accommodate simple design elements.
- SVG Files: Save SVG files while downloading designs so that they don’t lose their quality upon resizing.
- Sizing and Orientation: Ensure your design is within your vinyl sheet size, and determine if or not you would like the design to be mirrored, especially for HTV application.
3. Weeding Your Cut Designs
Weeding is the removal of any excess vinyl from your cut design. The tips listed below will make it easier to weed:
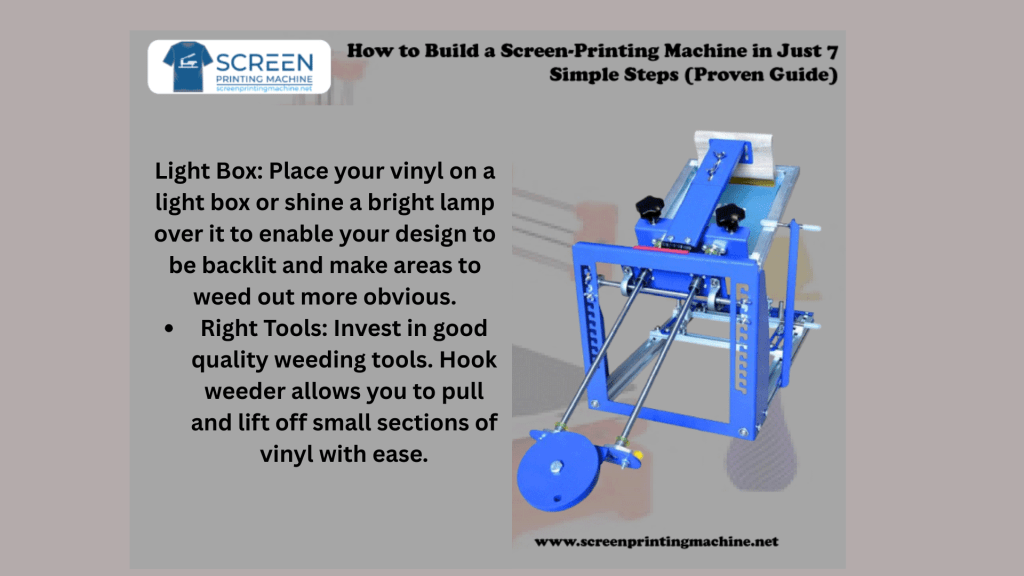
- Light Box: Place your vinyl on a light box or shine a bright lamp over it to enable your design to be backlit and make areas to weed out more obvious.
- Right Tools: Invest in good quality weeding tools. Hook weeder allows you to pull and lift off small sections of vinyl with ease.
4. Applying Transfer Tape
Transfer tape is vital when transferring your design without altering its shape. Here’s how you apply it:
- Cut the Tape to Size: Ensure the transfer tape is a little bigger than your design.
- Smooth Application: Apply your transfer tape over the vinyl and smooth the tape using a scraper tool in such a manner that no air bubbles are created.
- Peel Carefully: Peeling the transfer tape back slowly while applying the design to the final surface can prevent any misalignment.
5. Mastering Heat Transfer Application
For any HTV worker, this process can be the making or breaking of your project:
- Heat Press vs. Iron: Either will do, but a heat press is more consistent in temperature and pressure.
- Temperature and Timing: Always check the manufacturer’s guidelines for the exact temperature and timing settings because different HTV products have different adhesion requirements.
- Pre-Pressing Fabric: Pre-press your fabric for a few seconds to remove moisture and wrinkles and create a clean surface for the vinyl.
- Teflon Sheet Covering: Apply a covering of Teflon sheet or parchment paper to your design before heating. This ensures that the heat does not touch the vinyl directly and result in scorching.
- Testing with Scrap Fabric: Test your setting first on a piece of scrap fabric to ensure that all is functioning properly prior to applying your design to the completed piece.
6. Testing with Layering Techniques
Layering provides depth and dimension to your designs. To layer vinyl successfully, remember the following tips:
- Use Registration Marks: For multi-layering, use registration marks to position each layer precisely over the other.
- Layer Lightest to Dark: Add your vinyl layers in the light-to-dark sequence. This way, darker colors will not cover up lighter colors.
- Set Cutting Depth: Cut slightly deeper for the thicker layers when cutting multi-layered designs to help maintain crisp edges.
7. Experimenting with Advanced Techniques
Once you are comfortable with the basics, experiment with advanced techniques to give your projects a boost:
- Making Stencils: Cut vinyl to create stencils for painting or other craft uses. Cut with a vinyl cutter to professionally handle intricate designs.
- Engraving: If your vinyl cutter can engrave, use this process to create personalized designs on mediums like wood or acrylic.
- Cutting Unusual Materials: Cut outside the box by cutting materials other than vinyl, such as cardstock, magnet sheets, or even thin leather if your machine is capable of doing that.
Personal Insights: My Vinyl Cutting Journey
The beginnings of my vinyl cutting adventure transformed my approach to creating things. I started small—making stickers for my laptop and cute labels for my pantry. The magic, however, was unleashed when I began experimenting with different techniques.
One of the highlights was building up HTV to create a bright, multicolored pattern on a tote bag. After numerous attempts and some rejects, I finally succeeded in an amazing gradient effect that my friends and family praised and admired, and that gave me confidence as a crafter.
Trying out new techniques in experiments also created a thousand possibilities. I created my first set of stencils for a DIY wall art project that added a touch of sophistication to my home’s interior. Each successful project made me more enthusiastic and my skills better, proving the saying that practice makes perfect.
Conclusion
Vinyl cutting skills are a valuable learning experience that can take your crafting to a completely different level. With an understanding of the nuances of blade settings, weeding, and application techniques, you can create beautiful and professional-appearing designs. Always keep in mind, the path to becoming a great crafter is through experimentation and error.
Whether you’re a hobbyist wanting to create specialty items for personal use or a small business aiming to impress customers, these skills will provide the foundation and confidence to turn you into a vinyl cutting expert. So, get your equipment ready, let your imagination run wild, and bring your creations to life!